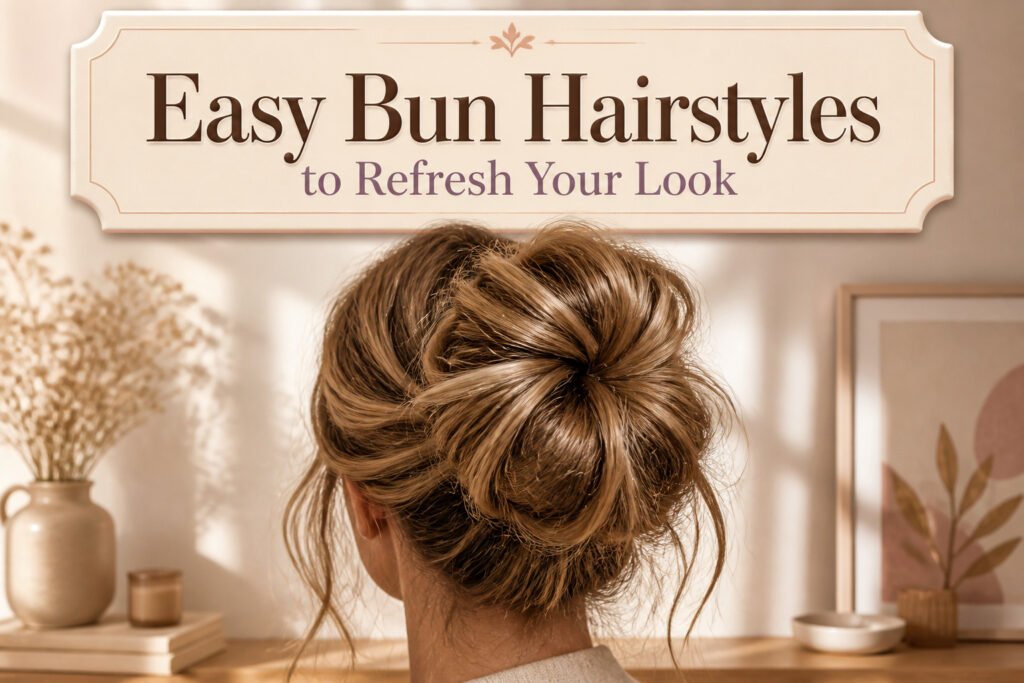
The right easy bun hairstyle depends on how much time you actually have and whether your hair will hold a twist without a fight. Most of these styles start from the same ponytail base, but the difference between a style that survives until lunch and one that lasts through dinner comes down to tension, product, and whether you own enough bobby pins.
The messy bun delivers on its promise in under one minute, no tutorial required.
1. Ballerina Bun
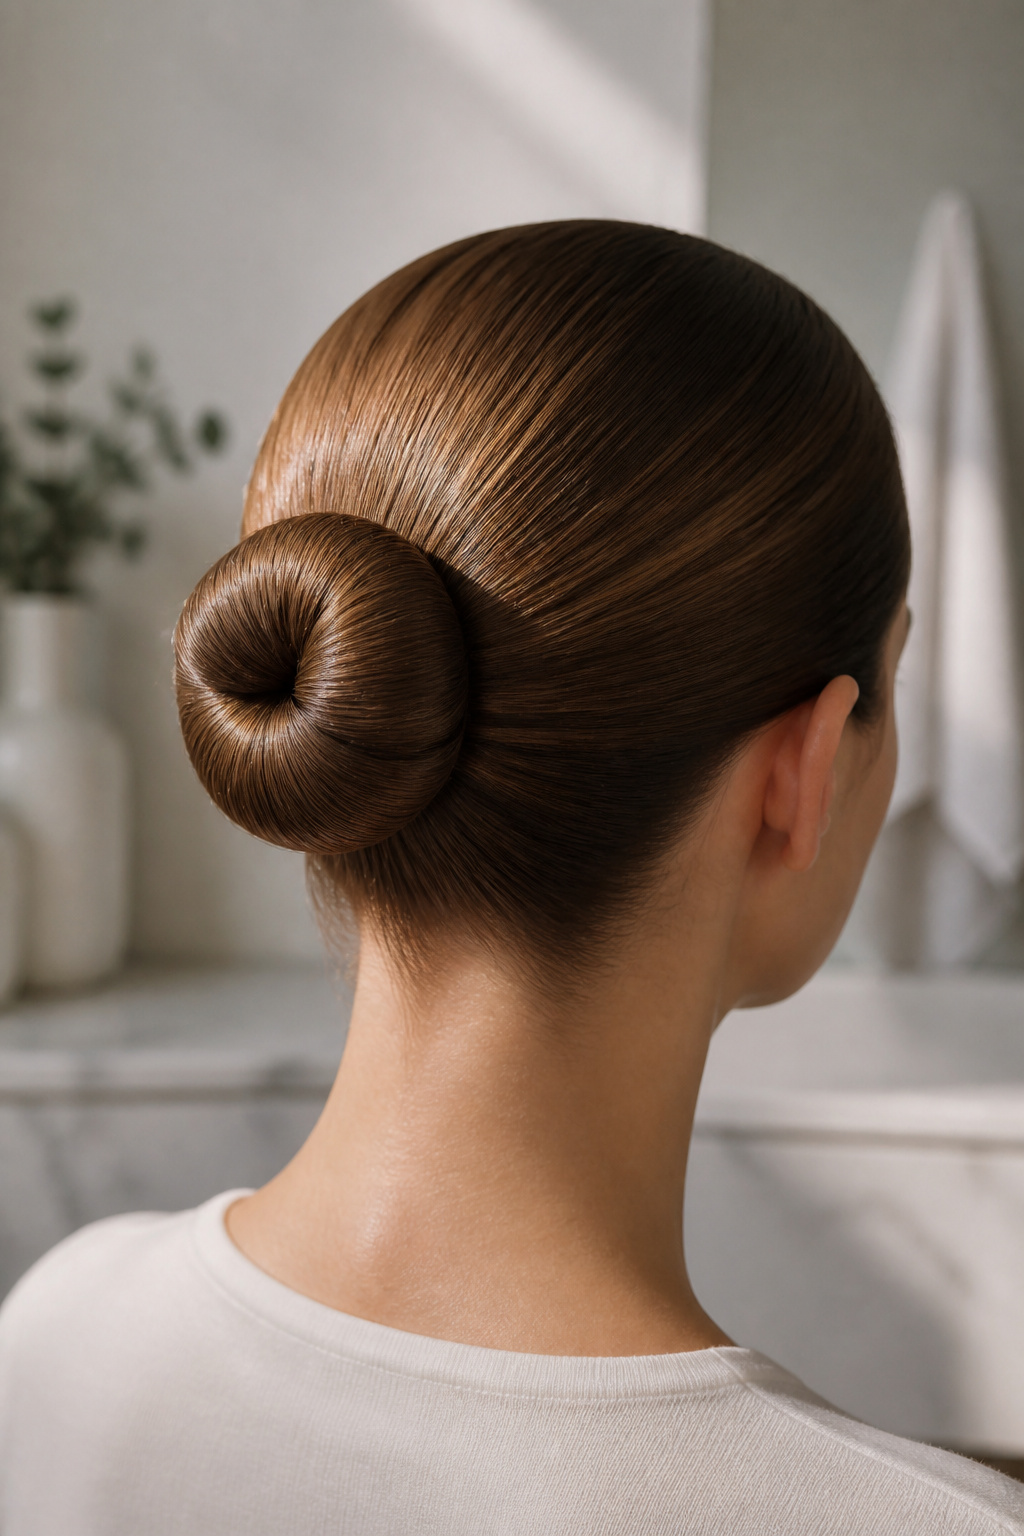
A ballerina bun is a classic style that keeps your hair tight and elegant. The polished finish works best on smoother hair textures and suits formal occasions where stray wisps would look out of place. Every bun starts from a ponytail, so the first move is gathering everything at your desired height. A lower placement sits at the base of your neck; lifting it past your ears tightens the whole look. Brush through first to prevent tangles from surfacing later, and if your hair slips too easily, a quick mist of sea salt spray or dry shampoo adds the grip you need.
Once the ponytail is secure, twist the length into a rope until it coils on itself. Wrap that twisted strand around its base in the same direction, letting it wind into a neat spiral against your head. For a small extra detail, leave one thicker section free before you start twisting. After the bun is pinned, braid that strand and wind it around the base. It reads as intentional rather than fussy, and it gives the style a little more personality without breaking the clean silhouette that makes this bun what it is.
2. Messy Bun

The messy bun is the answer most people land on when they need something fast and still want to look put-together. Under one minute is genuinely all it takes: gather everything into a ponytail, but stop before you pull the last loop all the way through. That leftover loop becomes your bun. Widen it with your hands, let a few ends stick out, and you are done. Bobby pins are optional, not required.
What makes this style worth keeping in rotation is how little your hair type matters. Fine, thick, curly, straight, long, or somewhere shorter, the messy bun still works. The same move handles a high placement for volume or a low side gather for something lazier. A few loose pieces at the front, curled or not, shift the same bun from errands to dinner without starting over.
I have spent enough mornings watching tutorials to know that the styles promising "effortless" usually hide ten steps. The messy bun actually delivers on the promise, which is why it stays at the top of the list for easy bun hairstyles.
3. Easy Low Bun

Nothing beats an easy-to-achieve low bun hairstyle, especially when the Ballerina and Puff bun placements sit high on the crown and draw attention upward. The low bun drops the focal point to the nape, which reads as quieter and more contained. For years this was the style I defaulted to on mornings when I needed to look pulled together before I’d had coffee.
The method is straightforward: gather hair into a low ponytail, twist the length around its base, and pin. Sources describe a hack for creating the perfect low bun that you can try, though the core manipulation stays the same regardless of variation. What changes the result is tension. A wrapped ponytail with the elastic hidden underneath gives a smoother finish; leaving the band visible and wrapping loosely around it reads more casual.
"Nothing beats an easy-to-achieve low bun hairstyle, especially when you’re in a rush and only have a few minutes to dedicate to your hair."
— PopSugar
The point is speed without sacrifice. A few face-framing wavy pieces out at the front soften the line for video calls, but the bun itself stays neat enough for most offices. I keep this as the office-appropriate default because it survives a full day without maintenance and still looks intentional by evening.
4. Twisted Low Bun

Braided buns can fight back when you’re working with your own hands behind your head. The twisted low bun swaps braiding for a simpler move: tie a low ponytail, split it in two, and twist those sections around each other until they coil into a bun shape at the nape. Secure with pins and you’re done.
That twisting motion is what separates this from a plain low bun. The rope of twisted hair holds together without braiding skill, and the slight unevenness from twisting by feel actually helps the finished shape look intentional rather than sloppy.
The sources call this super quick, and the speed claim holds up. No sectioning, no weaving, just twist and pin. Leaving an inch or two straight at the ends and letting them poke out to one side keeps the look from reading too formal for daytime, though the same bun tidied up works for an evening where you need to look pulled together.
5. Side Bun

The side bun is a fun twist on a classic. Rather than gathering hair at the nape, you pull everything to one side so the finished shape sits visibly off-center when you face the mirror. Start with a ponytail positioned above either ear, then twist the length around its base and pin.
This asymmetry reads deliberate rather than accidental, which makes it better suited for date nights or creative settings than for everyday errands. The placement draws the eye across your face differently than a centered bun, and it pairs well with a single statement earring on the bare side.
A ponytail start shifted above the ear keeps the twist from sliding backward as you pin. If your hair is fine, a small clear elastic at the ponytail base gives the bobby pins something to grip against.
6. Puff High Bun
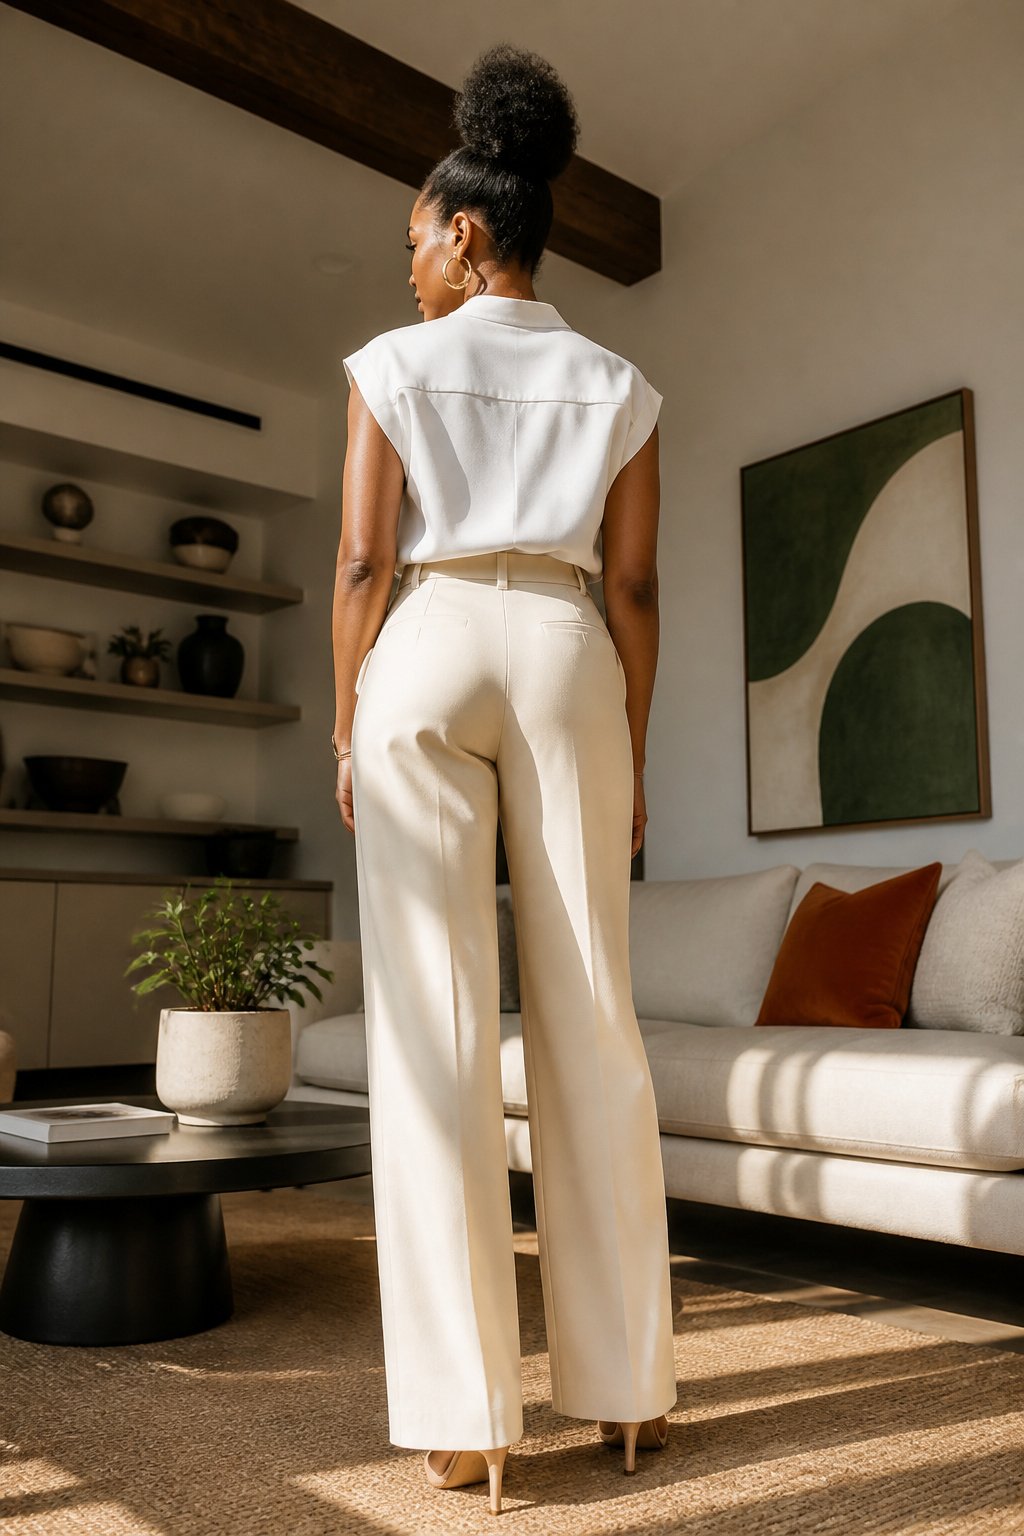
A slicked-back puff placed high on the head gives coily textures the volume at the crown that a low placement simply flattens. The prep matters more than the bun itself: work a pomade or hair gel through the hair to slick everything back, then pull the hair into a high ponytail before securing it into a bun shape with a hair tie or bobby pins. The height is what saves this style for coily hair, lifting the puff above the head rather than letting it compress at the nape. Without that elevation, the look reads as a flattened halo rather than a deliberate shape. The gel keeps the perimeter controlled while the crown keeps its natural lift, which is the whole point of choosing this bun over a smoother, tighter option.
7. Curly and Coily Bun
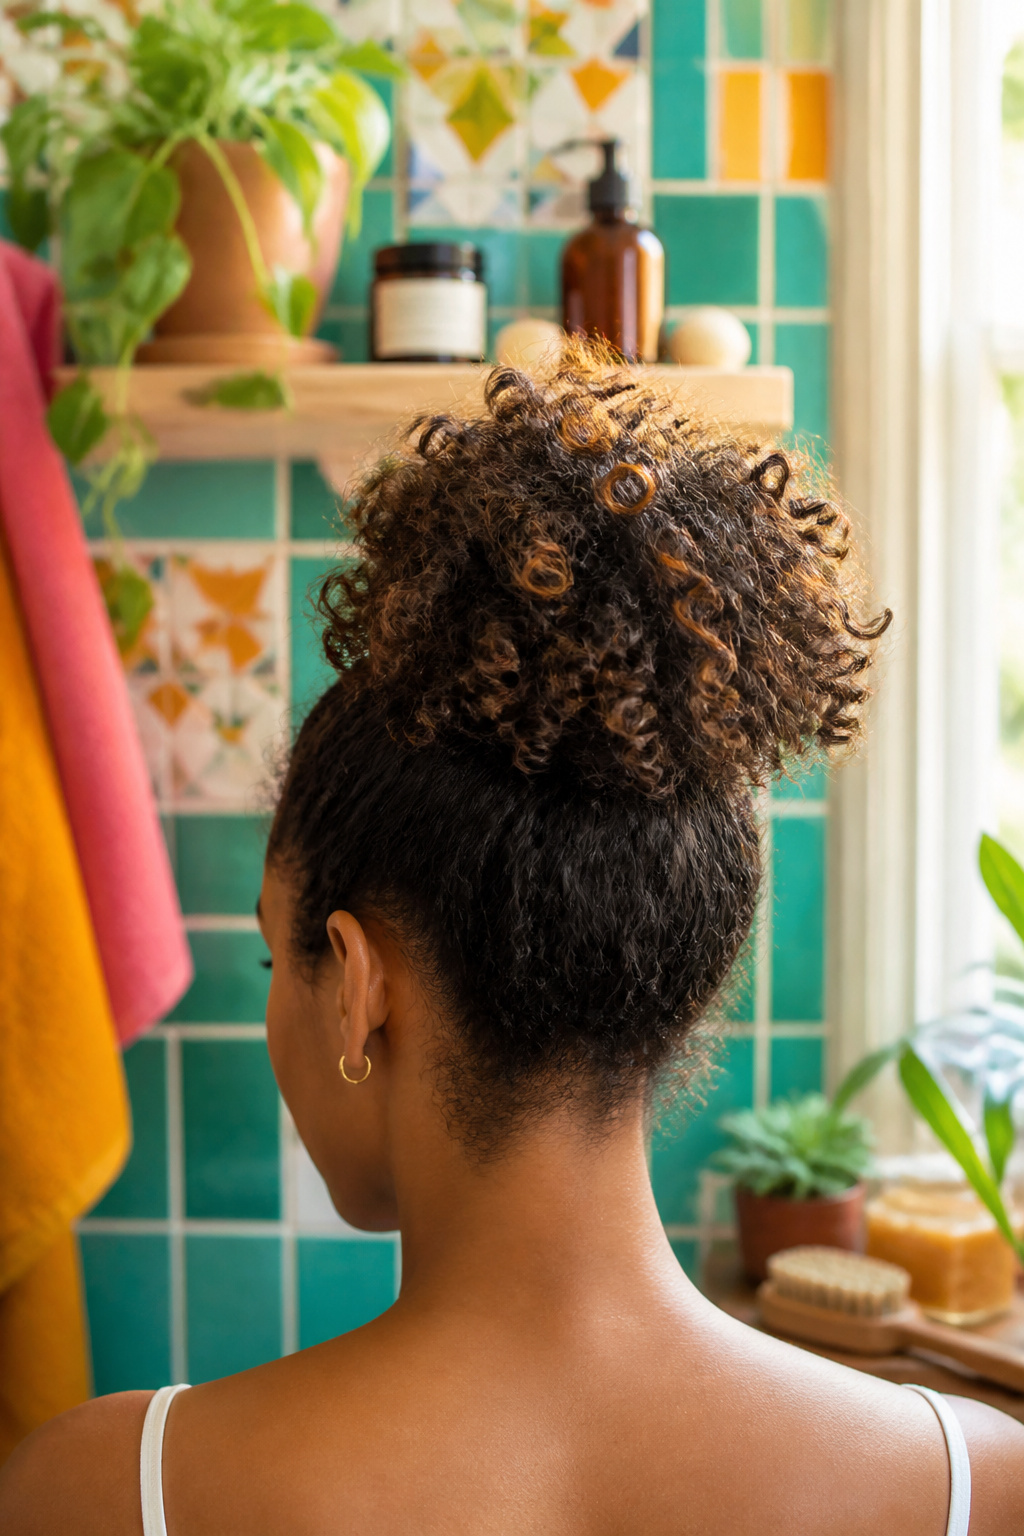
A classic high bun on natural hair keeps the hair off your neck while the curl pattern stays visible, not pressed flat. The sources mention this style for both tight coils and looser waves, and the difference from a slicked puff matters more than it sounds. A puff pulls everything smooth toward the center, which puts steady tension on the edges. The high bun here leaves the texture alone; you gather the hair without brushing or geling it down, so the curl keeps its shape and the hairline stays relaxed.
Pulling out a few strands to frame the face softens the look, though that part is optional. What convinced me, reading through the styling guides, is that this is the only source mention specifically for natural textures in the whole list of easy bun hairstyles. Every other style assumes straight or heat-stretched hair as the starting point. If your routine already centers on hydration and protecting curl definition, this is the bun that works with that instead of undoing it.
8. Three-Twist Bun
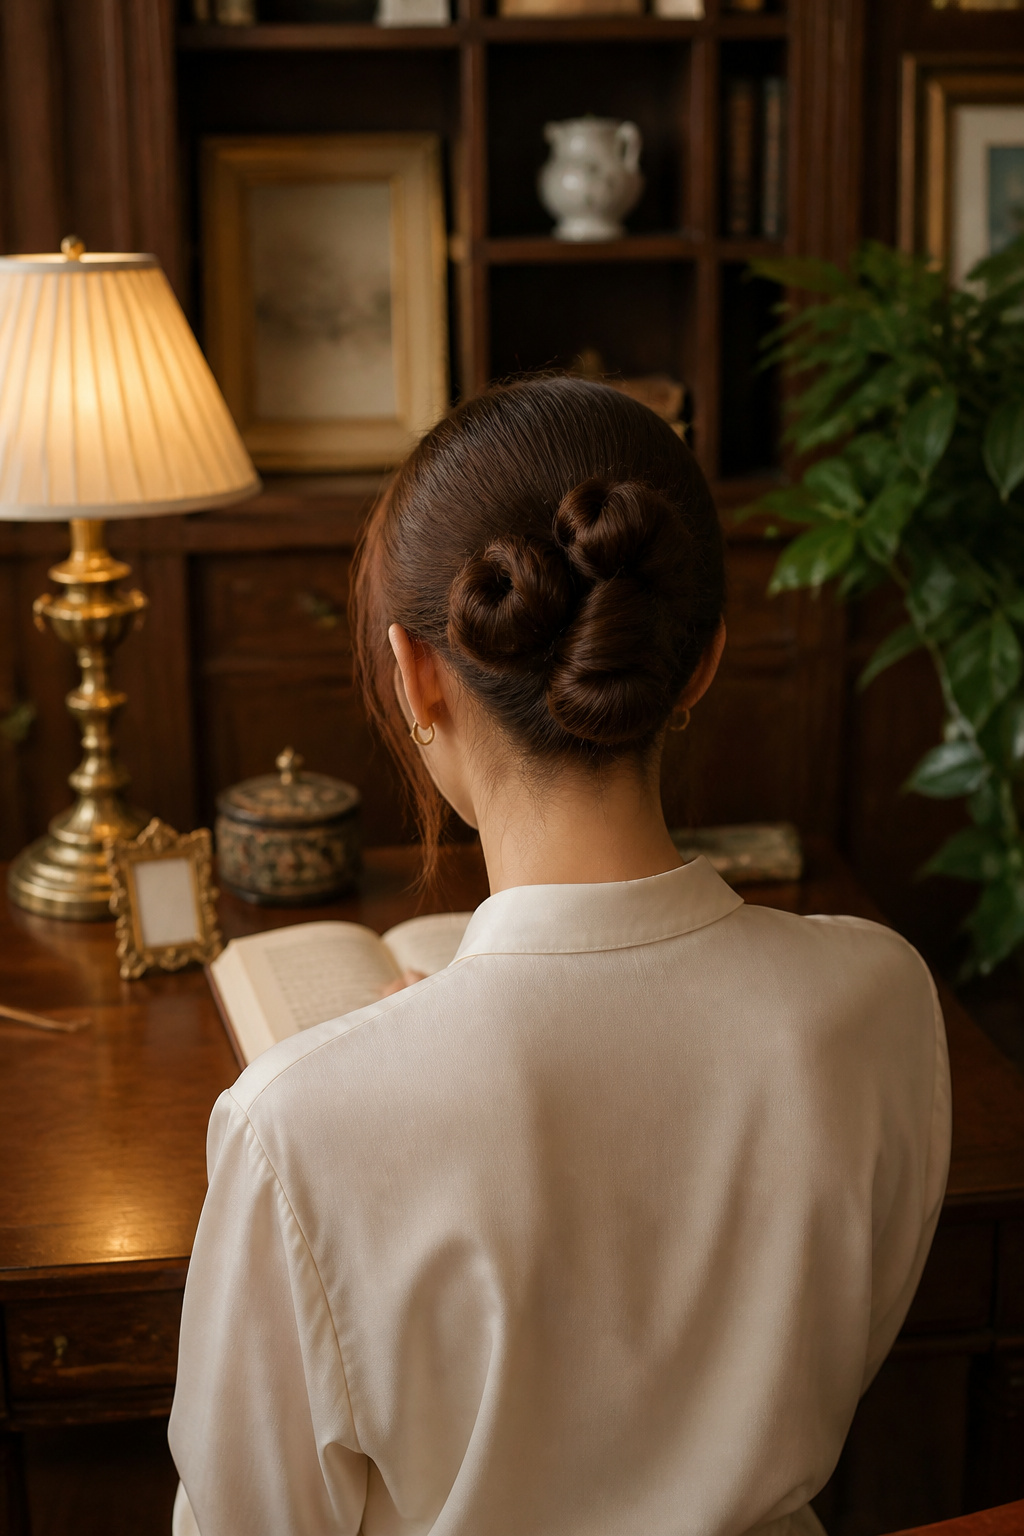
The three-twist bun starts where a lot of updos fall apart: at the base. Divide your hair into three sections at the nape of your neck, each one roughly the same size, and secure them with hair ties or a quick mist of dry shampoo so nothing slips while you work.
Twist the right section clockwise, wrap it close to your head into a small bun, and pin it. The middle and left sections both twist counterclockwise, each wrapping into its own mini-bun and pinning the same way. Three separate twists means three separate anchor points, so the whole style holds better than a single twist that can loosen from one spot. This one needs at least medium length to get all three sections wrapped, and longer hair just gives you fuller twists to work with. Let a few strands fall out around the face if you want the messier version; the structure underneath still keeps it from collapsing by noon.
9. Tucked Bun

The tucked bun solves a problem most of us with fine or layered hair know too well: ends slipping loose before noon. Tie your hair in a ponytail and split it down the center, right in front of the elastic. Use your index fingers to pull that split wide, about half the ponytail’s width. Then flip both halves upward toward your face and feed them through the opening you made, tucking any strays under the hair tie as you go.
What you get is a neat, self-contained bun with ends hidden inside rather than poking out. The structure holds because the hair traps itself, which matters more when your layers are short enough to escape a standard twist. Four to eight bobby pins and a scrunchie over top finish it, though a mist of hairspray helps if your texture tends to slide. Pull a few face-framing pieces if the pulled-tight look feels too severe; the base style runs neat by default, so softening it is a deliberate choice rather than a rescue.
10. Braided Bun
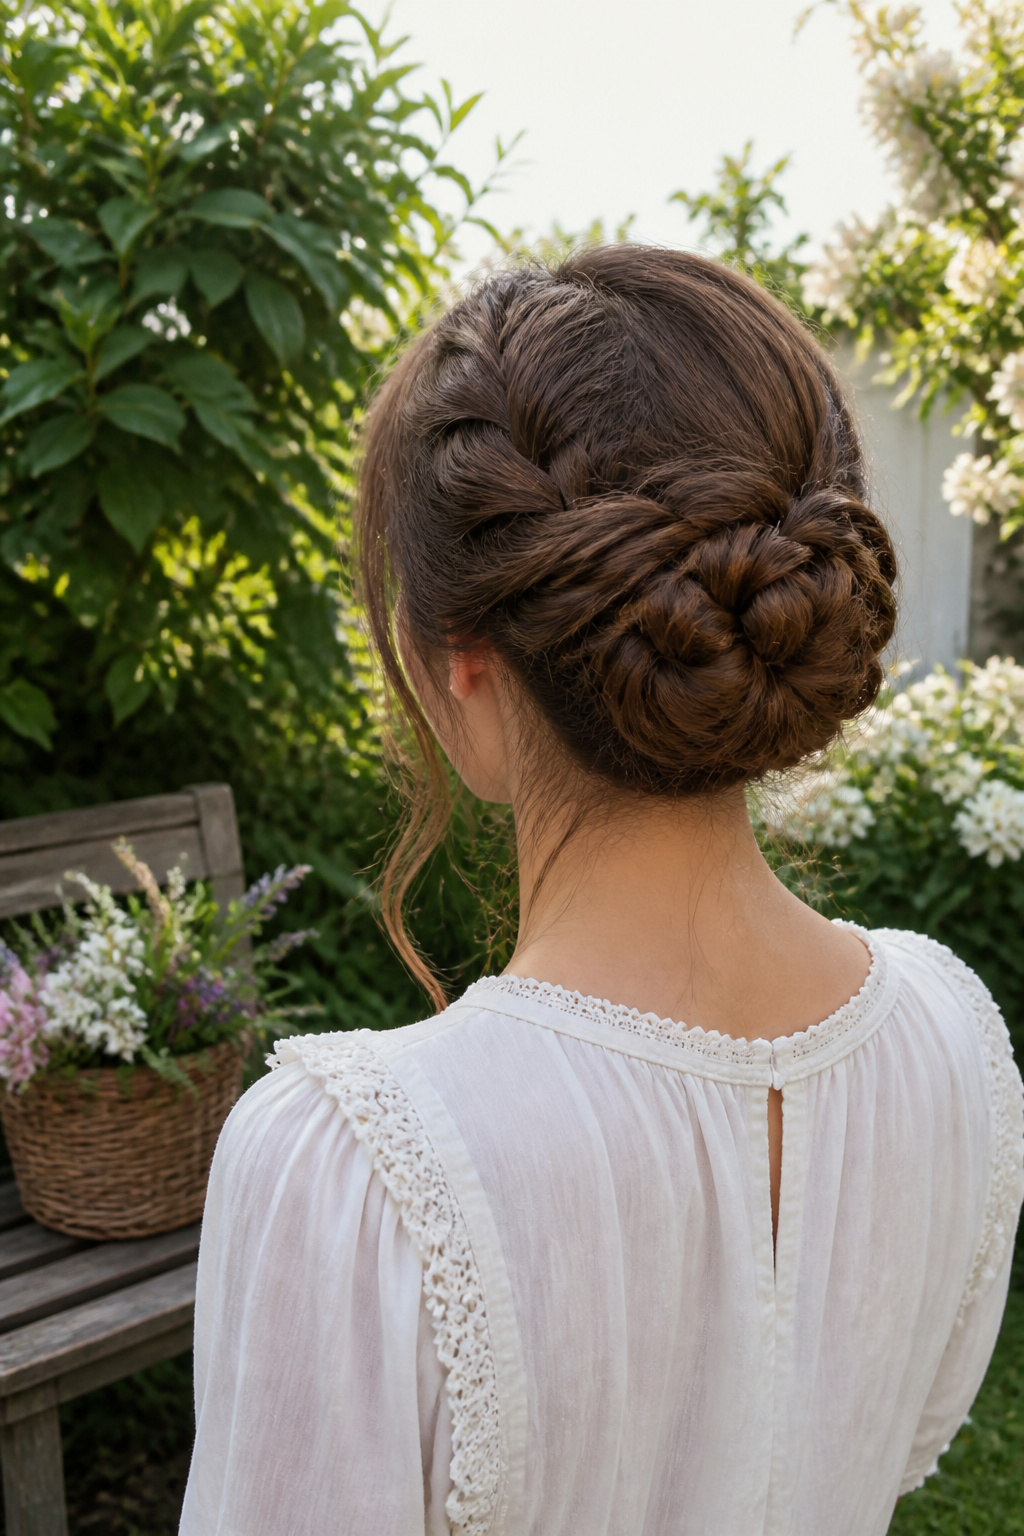
Braiding your bun is an elegant yet understated way to style your hair, and there are two ways to approach it depending on what your morning looks like. The method that stays secure longest starts with a ponytail anywhere on your head, smoothed and tied with a hair band. Braid that ponytail in a simple three-strand braid, secure the end, then wrap it in a circular motion around the base and tuck the ends underneath. This is the version that holds through active days, since the braid structure grips itself as you wrap.
The second option flips the order: wrap your unbraided ponytail into a bun first, then braid the remaining ends and tuck them in. It reads softer and a little more casual, though the finished shape loosens faster. For thick or extra-long hair, one or two plaits before wrapping keeps the volume controlled and the bun actually circular instead of lopsided. A single braid gives a cleaner profile; two braids twisted together add texture but bulk up the base. The braid-first method wins if you need the style to last past dinner without checking a mirror.
11. Fishtail Braided Bun
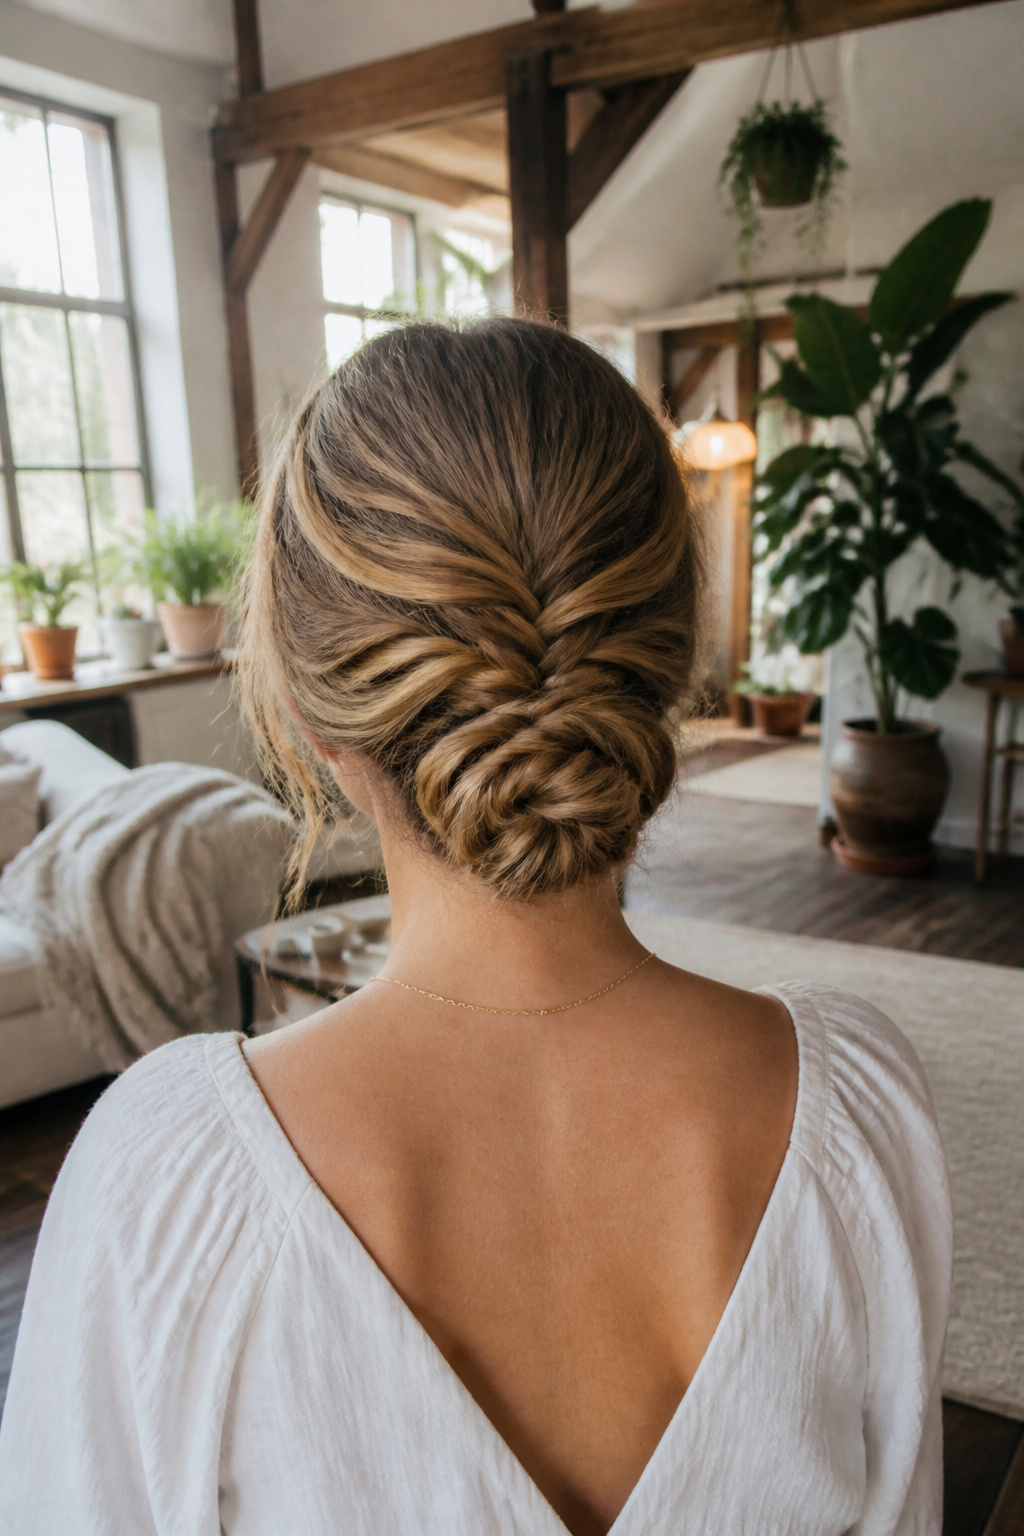
Loose fishtail braids can add volume to your hair without reaching for hot tools, which made this the style I kept coming back to when my own hair was looking flat by midday. The weave sits looser than a standard braided bun, so the braid itself spreads wider and creates more width at the crown and sides. That fuller appearance is especially useful if your hair is on the thinner side, since the gaps between the woven sections let light through in a way that reads as thickness rather than gaps.
The tradeoff is time. A fishtail braid takes slightly longer to section and cross over than a basic three-strand, and you are doing two of them before twisting them into a low bun at the nape. I would not attempt this on a morning when I am already behind, but for a day when I have an extra five or six minutes, the finished look feels more deliberate than a quick twist. A few wispy pieces left out around the face soften the whole thing and keep it from looking too done.
12. Waterfall Braided Bun
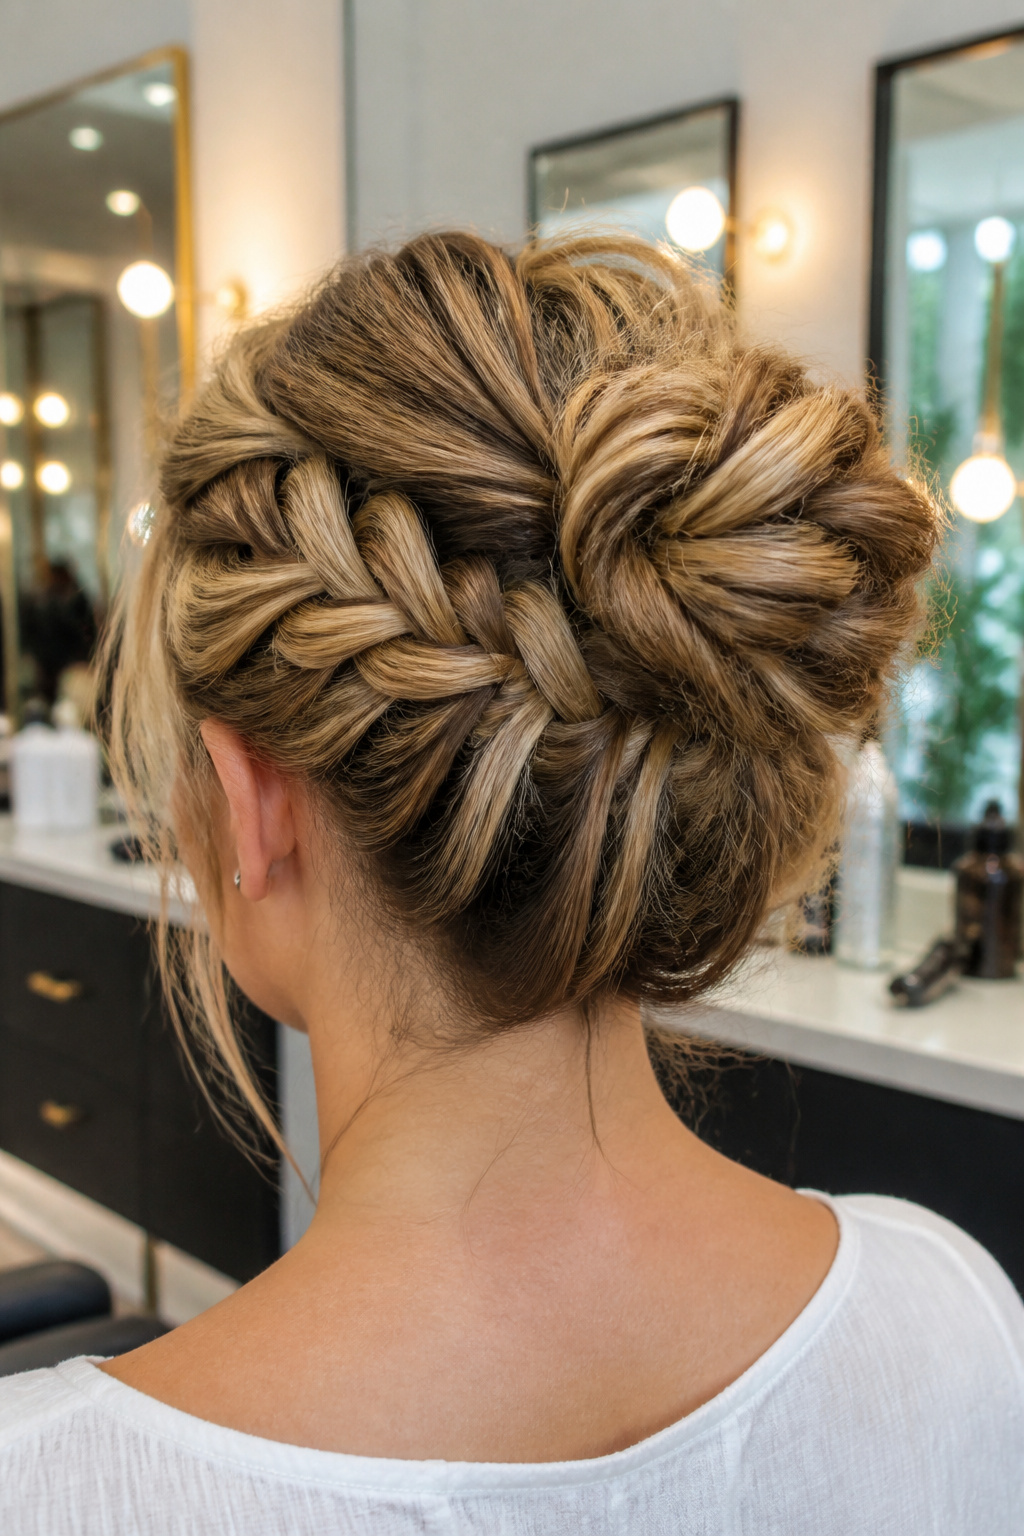
Loose waterfall braids add volume and texture that a plain bun never quite reaches on its own. The technique feeds strands from the top into a cascading braid along the side, leaving lengths free underneath to sweep up into a soft, high bun. The beauty of this high bun hairstyle lies in its imprecision, so the braid should look relaxed, not referee-tight, and the bun itself sits better when it is slightly off-center or softly rumpled rather than geometric.
This is the most decorative option of the bunch, which means it demands time the others do not. Your hands need to be steady enough to keep the waterfall tension even, and the pinning afterward takes patience if you want the bun to hold through an evening. Rush mornings are not the moment to try this one. Save it for the wedding, the dinner, the event where someone might actually photograph you from behind.
13. 90-Inspired Spikey Bun
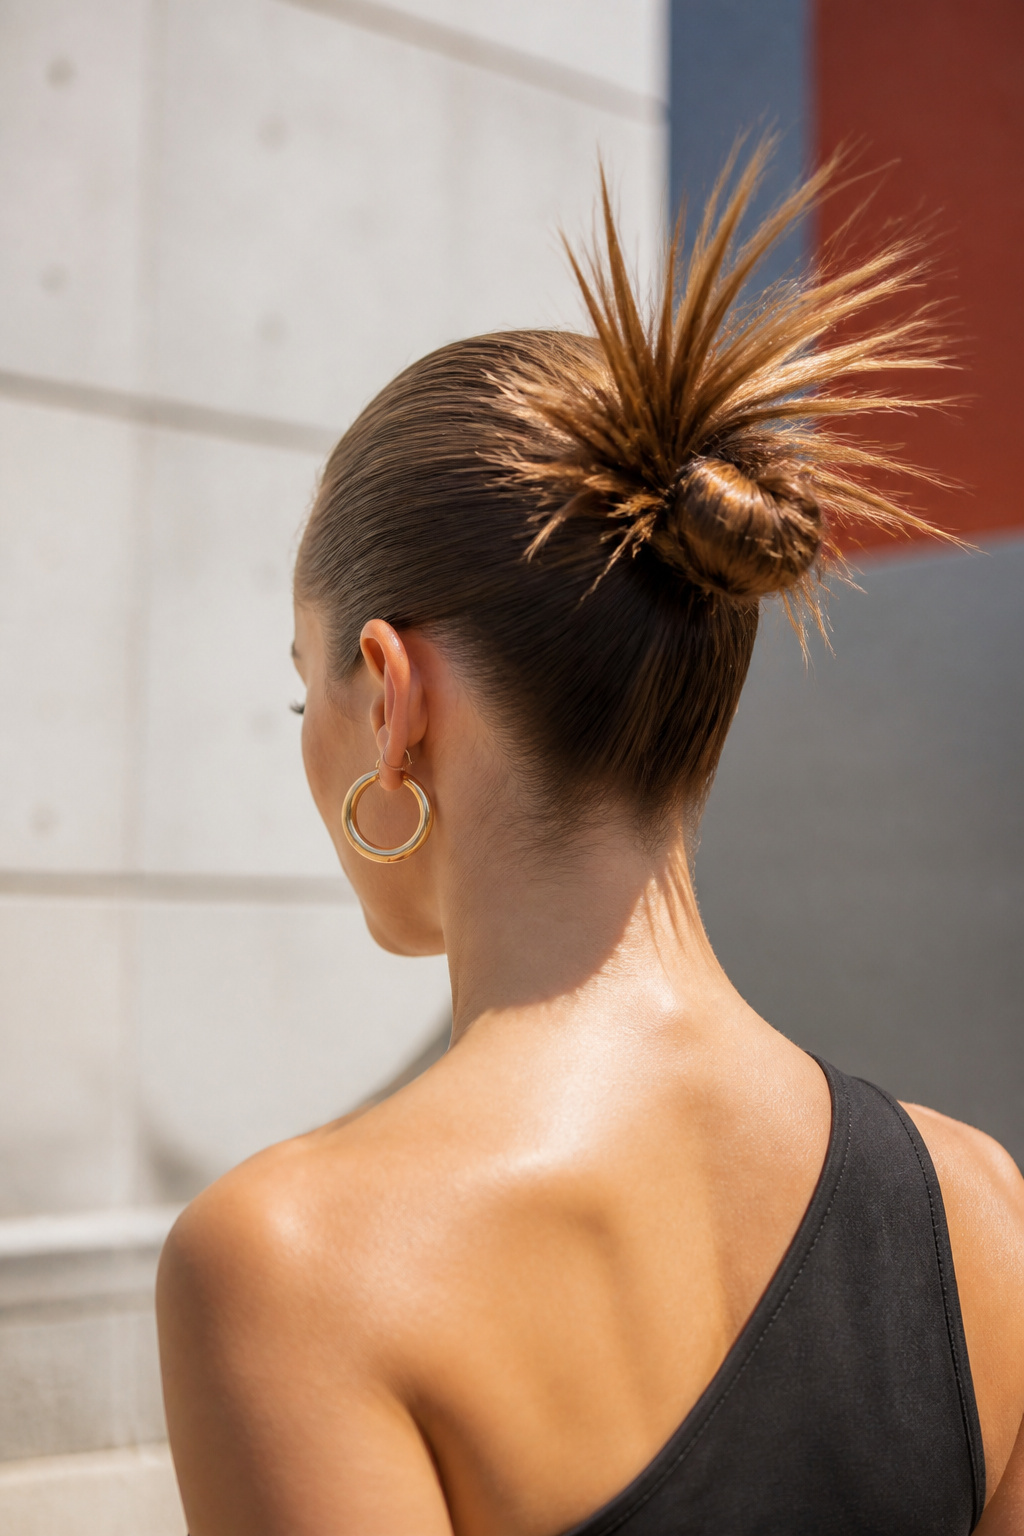
A slicked-back spikey hair bun style is suitable for a formal event, though the same look works for grabbing coffee or running errands. The ’90s inspiration shows in the twisted sections of hair pinned to build a bigger bun, with gelled spikes radiating out against that smoother base. That contrast between controlled crown and deliberate texture is what gives the style its edge.
This is the most product-dependent style in the list. The spikes need strong-hold gel to stay defined, and the slicked-back portion requires enough product to lie flat without looking greasy. Skip the gel and the spikes soften into fuzz; use too little and the whole bun collapses into a standard twist. Getting the proportion right took me longer than the other buns here, partly because product buildup changes how second-day hair behaves. If your hair is fine or tends to go limp, the gel weight alone can flatten the volume you’re trying to build with those twists.
What You Need on Hand
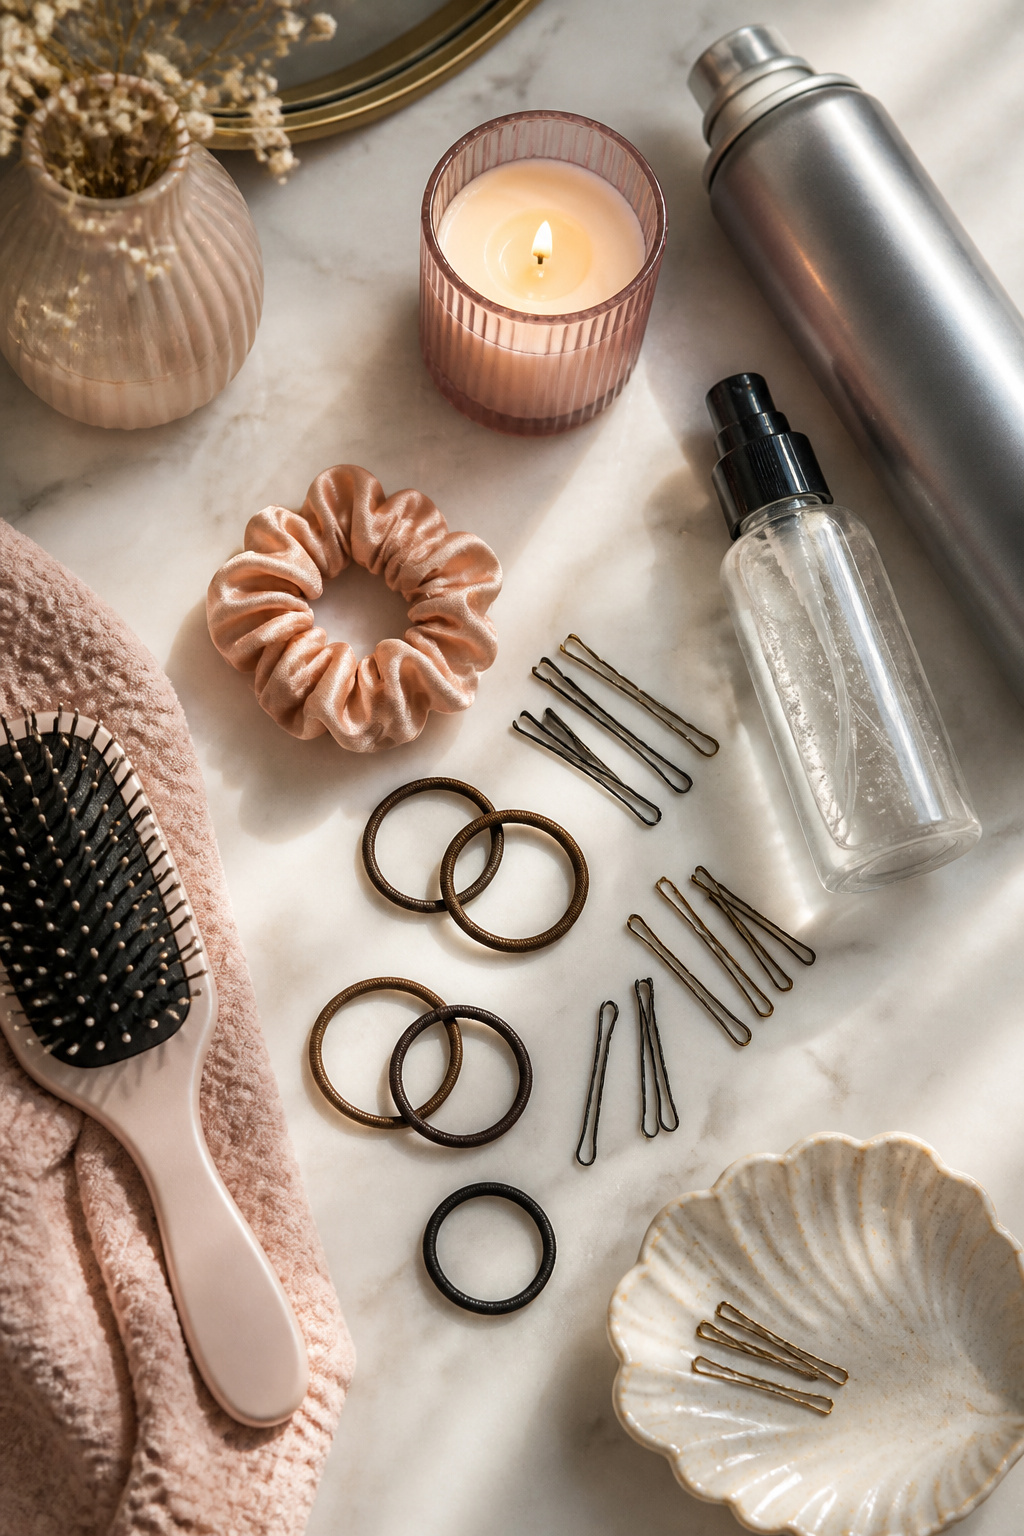
A bun only holds as well as what secures it, and the difference between a style that lasts until lunch and one that makes it through dinner usually comes down to having the right tools within arm’s reach. Bobby pins are the quiet workhorse of every easy bun hairstyle, with most styles needing 4 to 8 to lock the base in place without shifting. Hair ties handle the initial gather, and a scrunchie layered over top hides the mechanics while adding a softer finish.
For anyone whose hair fights back against a smooth finish, a small amount of product helps more than force ever will. Clean-hold gels or edge controls built around natural ingredients give grip without the flaking that heavier formulas leave behind, something that matters more as the day wears on and the style settles. The 35-54 reader checking ingredient lists before buying skincare does the same here: a quick scan for alcohols that dry or silicones that build up saves a mid-afternoon redo.
How Fast Each One Takes
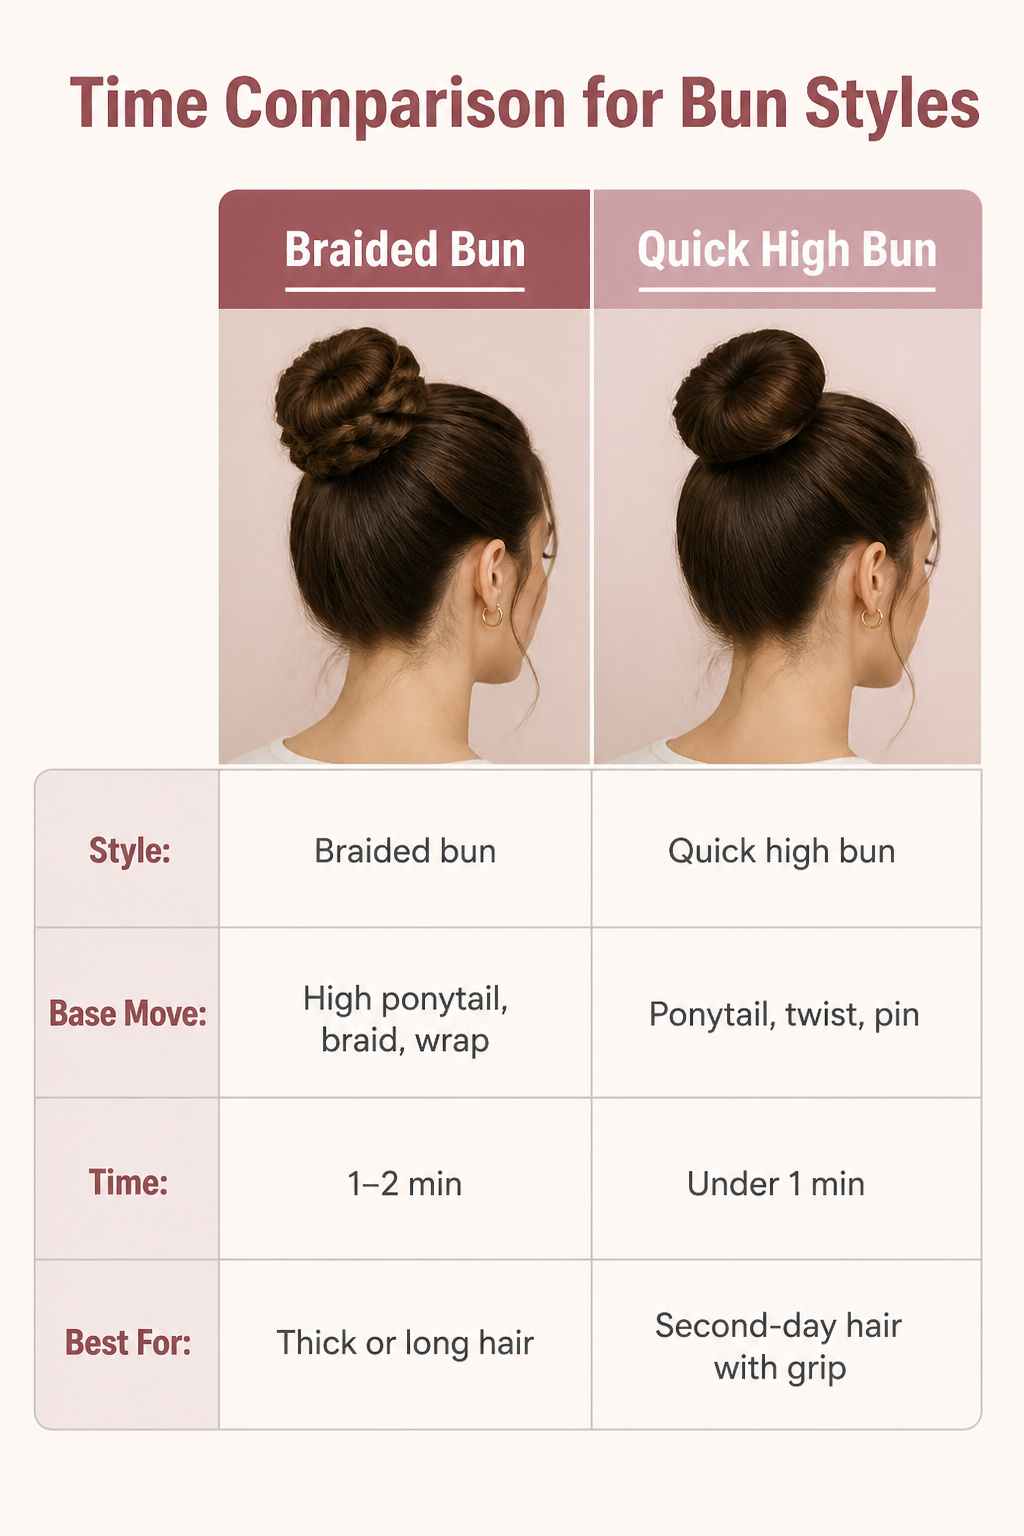
Most mornings, the ponytail start is what saves the whole attempt. A high ponytail gives the braid something to grip and the bun something to wrap around, so the whole style lands in under a minute once your hands know the motion. The foam bun tool is the real emergency backup: roll damp or dry hair through it, snap the ends under, and you have a shape that reads intentional even when the rest of your routine ran late.
| Style | Base Move | Time | Best For |
|---|---|---|---|
| Braided bun | High ponytail, braid, wrap | 1–2 min | Thick or long hair that won’t stay put otherwise |
| Quick high bun | Ponytail, twist, pin | Under 1 min | Second-day hair with some grip |
| Foam tool bun | Roll through snap-in form | Under 1 min | True emergencies, no mirror required |
The ponytail shortcut is the one move worth mastering first. Everything else builds from it, and on days when nothing cooperates, that single gathered section still reads like you tried.
Dress It Up or Down
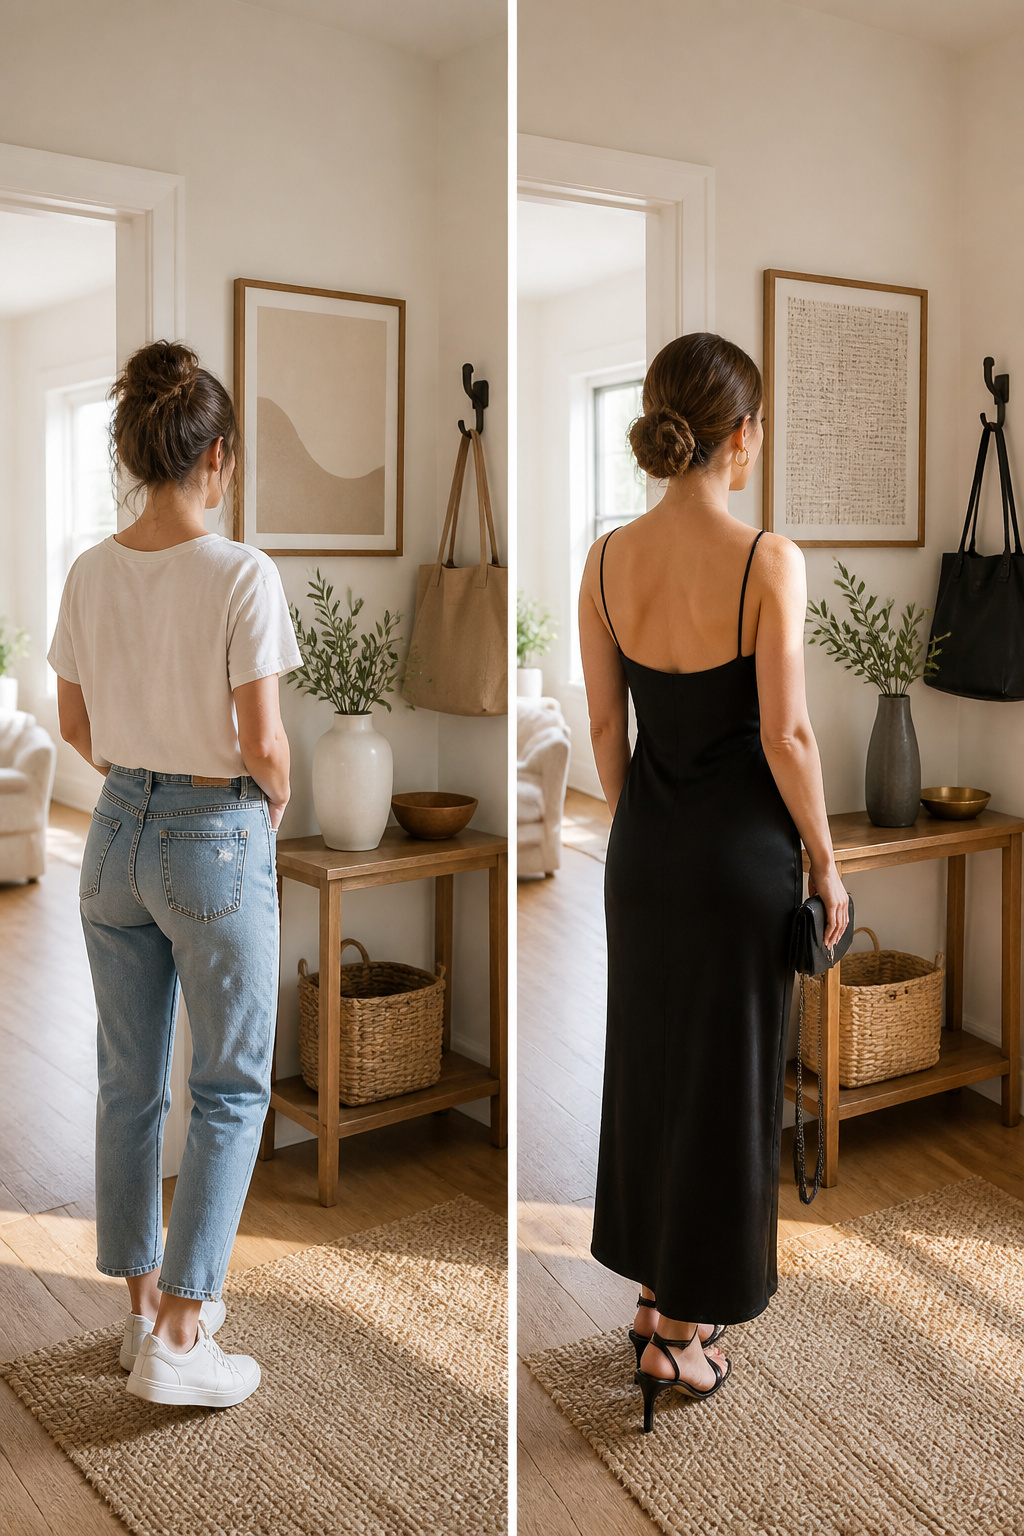
Some easy bun hairstyles stay put from a morning meeting straight through to dinner, while others start slipping the second you reach for a coffee mug. The low twisted styles, in particular, handle that transition without a redo: the twist itself creates tension that holds the shape as the day loosens it slightly into something softer. Your hair at 9 AM looks intentional; by 6 PM it reads relaxed, not collapsed.
For the gym, the same twist needs reinforcement. A few extra pins at the nape, or switching to a tighter coil, keeps it from unraveling during a workout. The puffier, more voluminous buns marketed as all-occasion fixes? Those are the ones that demand honest assessment. The height sits beautifully for a wedding or a desk day, but the bounce that looks festive becomes a liability on a treadmill. I have watched too many tutorials claim every style adapts to every setting; the truth is that active use separates the genuinely secure from the merely pretty. If your plan includes anything more vigorous than a brisk walk, test the bun with a few jumping jacks before you commit.
Frequently Asked Questions
How do I put my hair in a bun fast?
Use a foam bun tool for the quickest result: pull your hair into a ponytail, twist it around the foam piece, and close the metal clasp. A simple high ponytail twisted and pinned also lands under one minute once your hands know the motion. The ponytail start is the single move worth mastering first, since every other style builds from it.
How can I make a bun that will stay in all day?
Secure it well at the base and add reinforcement where the day will test it. Most styles need 4 to 8 bobby pins to lock the base without shifting, and the three-twist bun holds better than a single twist because it has three separate anchor points. For active days, a braided bun grips itself as you wrap and stays secure longer than a plain twist.
What is the easiest bun hairstyle?
The messy bun takes under a minute and works on every hair type, texture, and length. Gather everything into a ponytail, stop before you pull the last loop through, widen that loop with your hands, and let a few ends stick out. No bobby pins required, no mirror necessary, and it actually delivers on the promise of effortless.